Você está aqui:
Manual
» Community features
» Creating a community
Creating a community
You can create communities to interact to others users
How to access
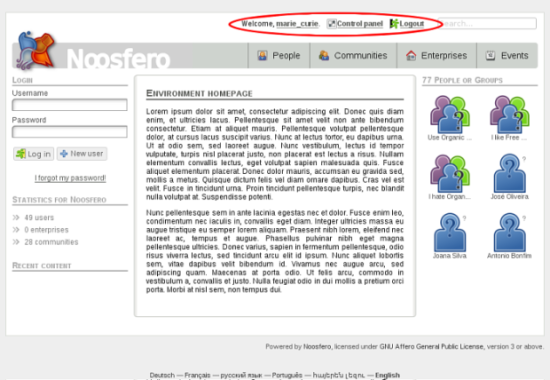
- Find you user menu on top bar:

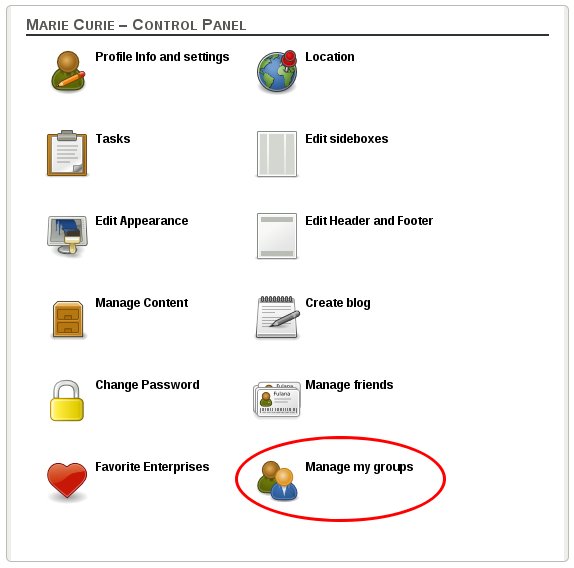
- In user menu, click on Control Panel

- Then, click on “Manage my groups”:

Description
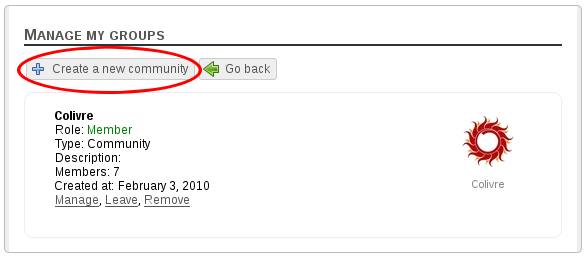
- Find the button “Create a new community” and click on it.

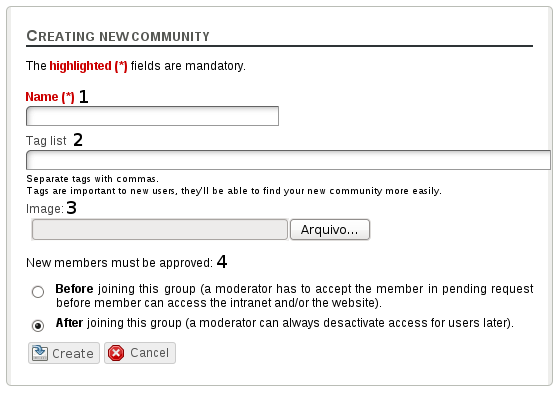
- You will see a form to be filled with the community information.

- Name: Fill in with the name of the community you want to create.
- Tag list: Fill in with tags. Tags are keywords or terms associated to your community.
- Image: Insert a picture. It will be the image of your community. Click on “File…” and choose the image in your computer. The image must have a maximum of 500Kb and should be .jpg , .gif or .png.
- New members must be approved: You should choose if the community should be moderated. Choosing the first option, a moderator needs to approve when a person asks to join the community. Choosing the second option, no moderation is needed.
- After filling the fields, click on “Create” button.
- If allowed by the environment, the community will be already created. Otherwise, the environment administrator will need to approve/deny the new community.